
Acromioclavicular joint dislocation, scientific home training to help rehabilitation
If you have any queries or suggestions, please feel free to reach out via email to info@harisonfitness.com. We will do everything in our capacity to ensure that you love your experience with us.
It is said that it takes 100 days to injure your shoulder. In order to recover completely from acromioclavicular joint dislocation, rehabilitation training is needed. Rehabilitation training for acromioclavicular joint dislocation can be done at home, the whole process is quite long, but as long as you insist on the training, you will be able to achieve the purpose of recovery.
01Colloclavicular joint dislocation home training precautions
1. Follow the doctor’s instructions
It is important to follow your doctor’s instructions for rehabilitation after acromioclavicular joint dislocation surgery. Each person’s physical condition is different, and so is his or her surgical condition. No matter which method of rehabilitation you choose, you must ask your doctor for advice and not make a decision blindly on your own.
2. Gradual progress
Acromioclavicular joint dislocation should receive rehabilitation treatment as early as possible, the earlier the rehabilitation training, the better the recovery effect, but pay attention to gradual and orderly progress, grasp the training intensity, do not try to be strong at the beginning of the training, and stop the training when you feel strong pain, so as to avoid excessive intensity, which is counterproductive.
02 Acromioclavicular Joint Dislocation Home Training Moves
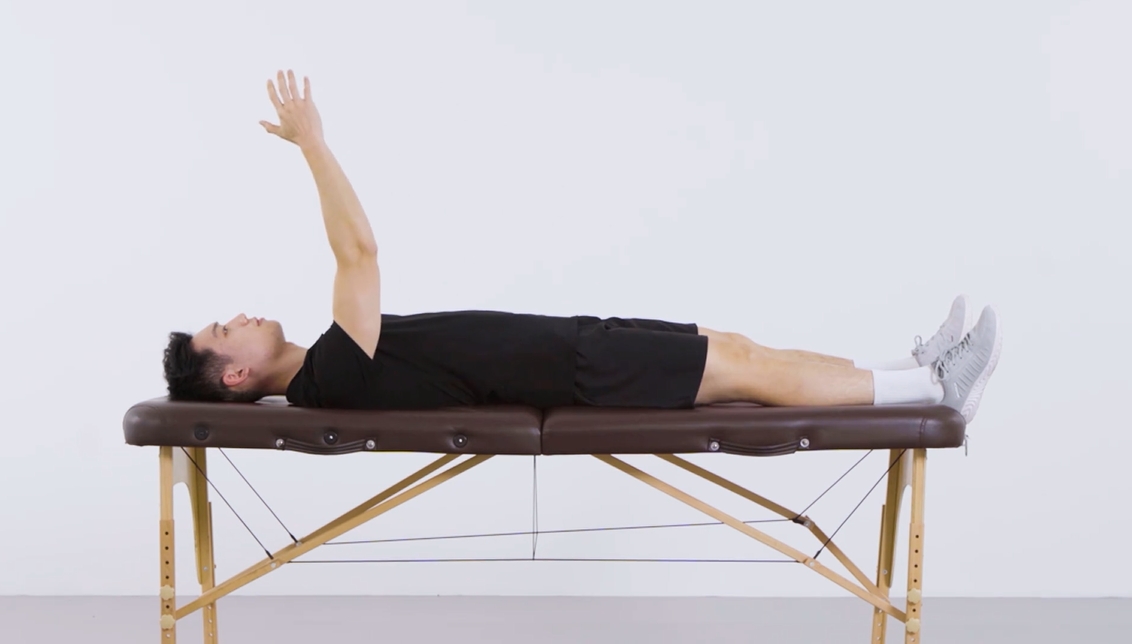
Movement 1: supine lift
Lying on your back with your arms naturally at your sides and against the floor, slowly raise your injured arm to directly in front of you, pause briefly once in place, and then lower it to the side of your body. The movement is simple and very suitable for the initial recovery of the affected arm, so do 8 per group and do enough for 4 groups. In the process of training, you need to be careful not to exert too much force, especially when the arm drop may touch the ground, the action may be too violent to cause injury.
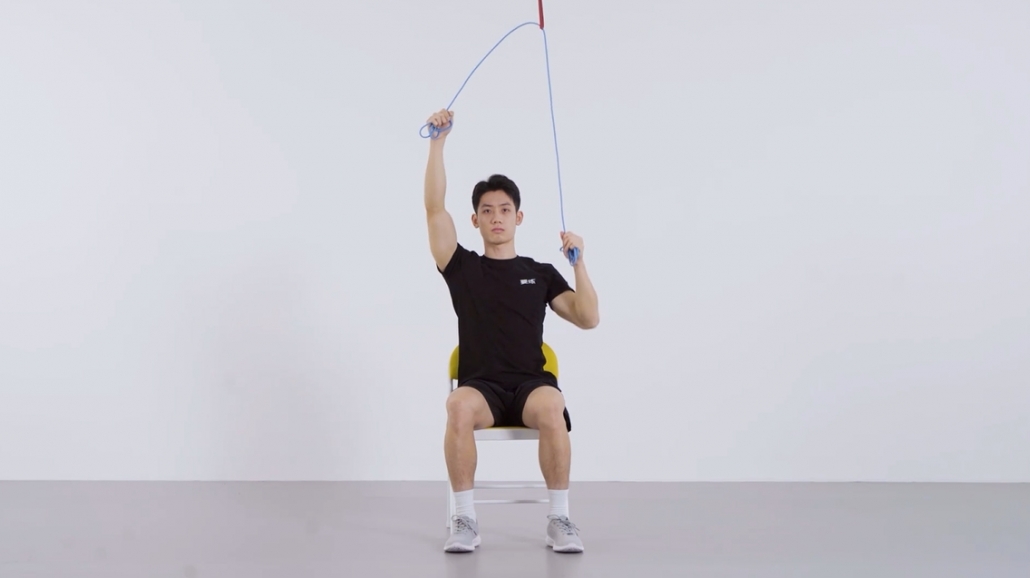
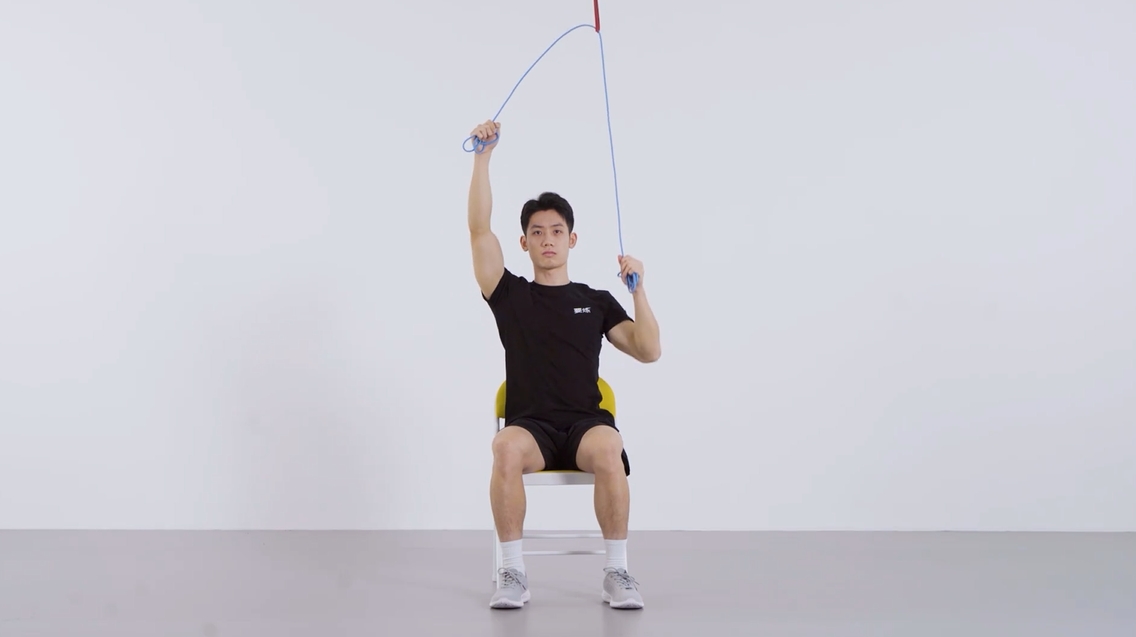
Movement 2: Elastic band pull down
Using a seated position, the elastic band is secured through a hanging loop or something else right above the head, as to achieve the pulley effect. To start the exercise, the affected arm holds one side of the elastic cord, bends at the elbow and raises it to the shoulder, the other arm holds the other side of the elastic band and raises it to straightness, and when you are ready, the healthy arm pulls downward, driving the affected arm upward, and then lifts it up again, with the affected arm reverting back to its initial position. Make sure the movement is even and calm. Because of the healthy arm’s power to cooperate, so you can also do more, it is recommended that each group of 8 times, do four groups.
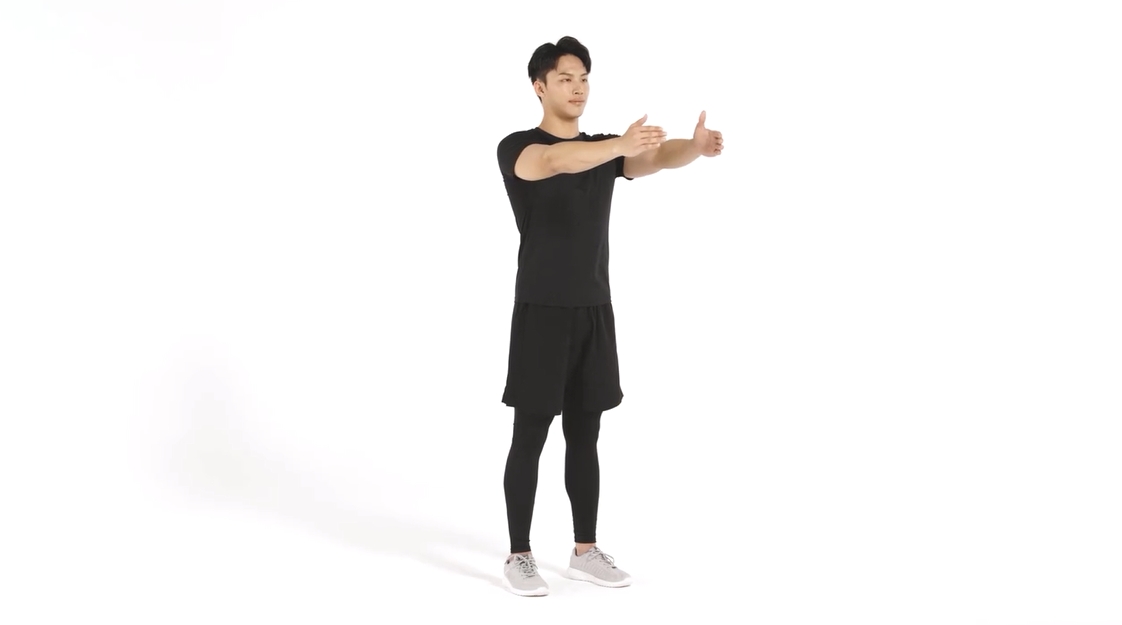
Action 3: scapula clock
In this movement, the position of the shoulder blade when you lift your chest is to be regarded as the starting point of the clock, and then move the shoulder blade in the upward, downward, forward and backward directions, respectively, because this is the shoulder lock joint area so the pain is the strongest, but this group of movements is still very necessary to do, because it can effectively exercise the whole injured area. So it is recommended that each group do 8, do two groups.
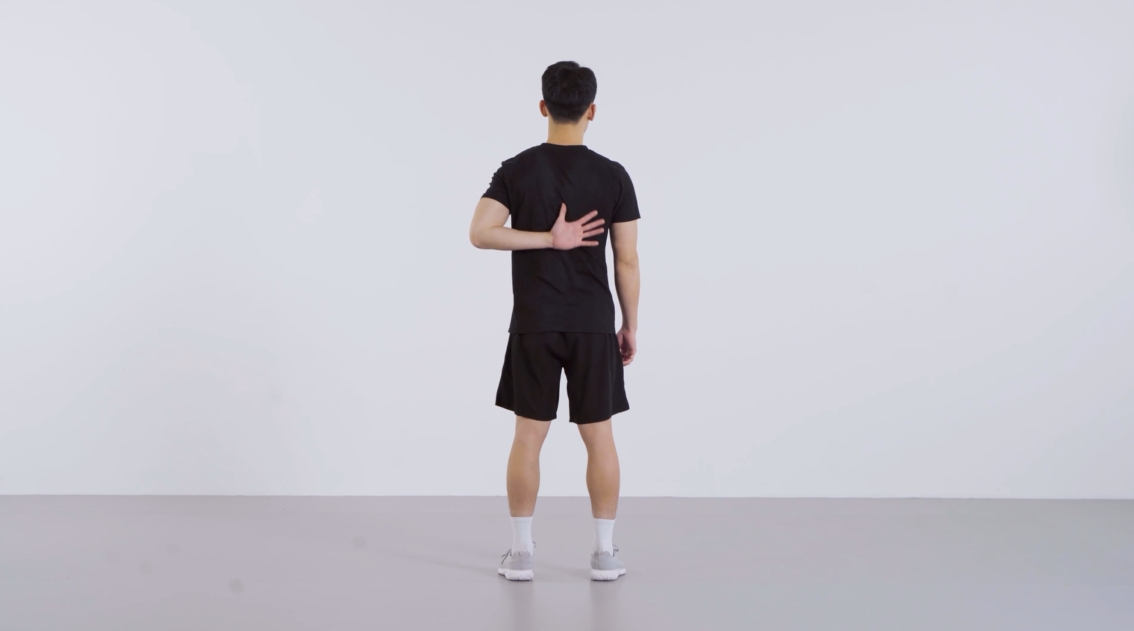
Movement 4: Back Touch
Stand naturally, injured arm down to the hips, and then with the back of the hand to touch the other side of the back scapula, touch a little pause and then back down to the starting state. Note that the movement should be even, do not force too much. In addition, mainly relying on arm movements to drive the injured shoulder movement, rather than direct shoulder force. The same is the activity of the injured area, so it is recommended to do 8 times per group and do 2 groups.
The above four movements are the basic movements of home training after acromioclavicular joint dislocation, and adhering to the training 2~3 times a day can achieve the purpose of rehabilitation.
Warm tips: in the process of training, there will be a slight pain, according to their own situation, can be adjusted appropriately.


Leave a Reply
Want to join the discussion?Feel free to contribute!